Overview
The pronged magnetic snaps (standard magnetic snaps) are a very easy and fast closure for a bag, but when your bag needs a clean-looking, flat profile, hidden from view magnetic closure, a practical variant is using invisible magnetic snaps, known also as sew-in magnetic snaps. They are very useful for many types of bags, for wallets or pocket flaps.
These invisible magnetic snaps are composed of two parts, like the standard magnetic snaps, but both parts are flat discs, encased in a soft, clear plastic pad that is easy to sew through with no special needle. Anyone can do it.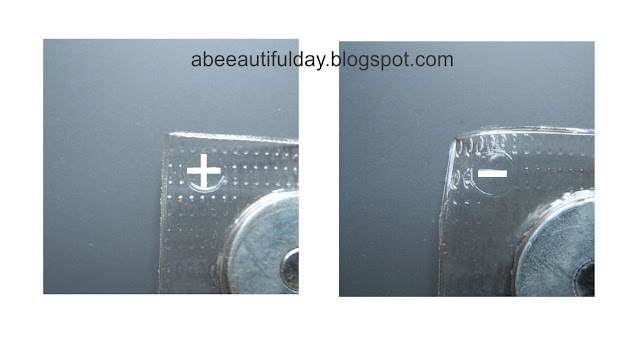
They come in different dimensions and in sets. One set includes two magnetic pieces, a positive and a negative. Depending on the manufacturer, some of them have the positive piece marked with a "+" in one corner of the plastic pad and the negative piece marked with a "–".
Dimensions of my magnetic snaps:
– magnet 3/4" diameter
– plastic pad 1 ¼ " square.
Positioning the snaps
To see which is the front and which is the back of the two magnets, bring them close to each other. The right position is, of course, that in which the two magnets have the greatest strength of attraction. Mark the back of the snaps with a permanent marker - you will need this later.
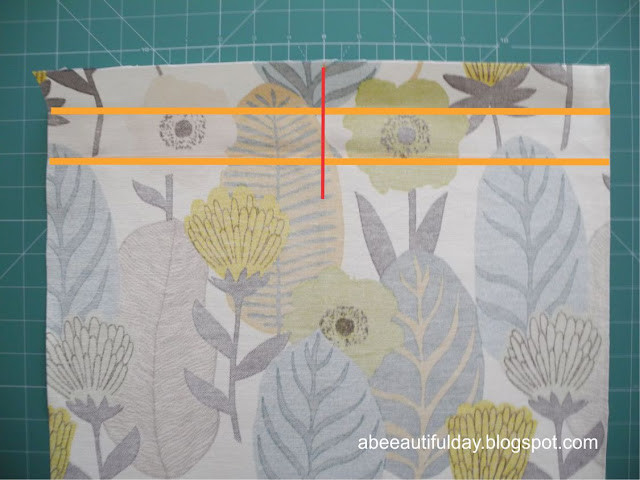
Place one bag panel wrong side up. Measure one side of the magnetic snap pad (usually it is a square). Mine is 1 ¼" and the following instructions are based on this.
Mark 1 ¼" and 2 ½" down the top edge. See the horizontal orange lines. Mark the center of the bag panel. See the red vertical line.
 If your pad has other dimensions, draw the first line at a distance equal to the side of the pad, and draw the second line at a distance equal to the side of the pad x 2.
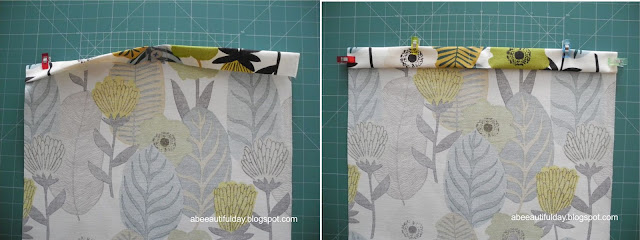
Fold the top edge over. Press and pin or use clips to keep it in place.
Installing the snaps
Center one snap (doesn't matter which one) back side up, over the folded edge. Use clips to keep it in place.
Top stitch as you wish: close to the magnetic snap or close to the pad edge. Use a zipper foot if you prefer. Use matching thread.
I recommend placing a piece of fabric or vinyl, or cork etc. between the snap area and needle plate (the orange piece in the photos above), to weaken the strength of the magnet while sewing. Just be careful to keep it away from stitching.
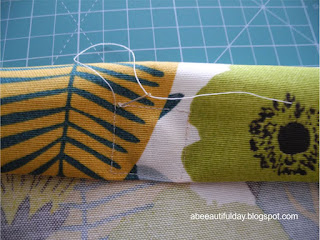
You might secure the seam either by back stitching at the beginning and end of the seam or by burying the ends of the threads in the panel folds. The latter gives a cleaner look.
Place the bag panel wrong side up. Fold the top edge over one more time. Press and use clips to keep it in place. Now the snap is tucked between folds, front side up.

If you use fabric straps, now is the time to attach them. For this bag, I used leather straps and I attached them after the bag was assembled, as the last step.
Sew a seam on the bottom edge of the folded side and one seam at about 1/8" down from the top edge of the panel.
Repeat for the other bag panel.
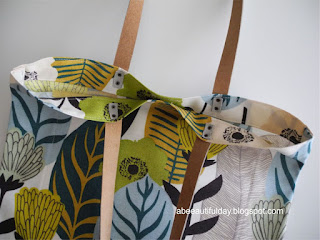
As you can see, the invisible magnetic snaps closure looks so good and provides the same security as the standard magnetic snaps.

Almost nothing to see on the inside. Only a fine stitched square that is barely visible.
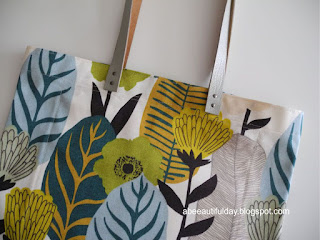
Nothing on the outside.

If you have already a pair of invisible snaps in some drawer and want to use them, you have the right project here
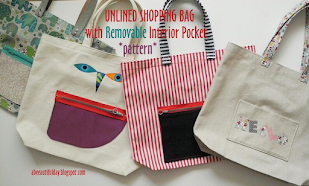
The bag in this tutorial was made following the instructions of this pattern, which allows so many variations.
When ordering Unlined shopping bag with removable interior pocket Pattern, leave me a message if you want to save this tutorial and I will send it to you as a .pdf file.
 |
| To remember, pin this for later. |
Other ideas and tutorials you may find
HERE, on my blog.


