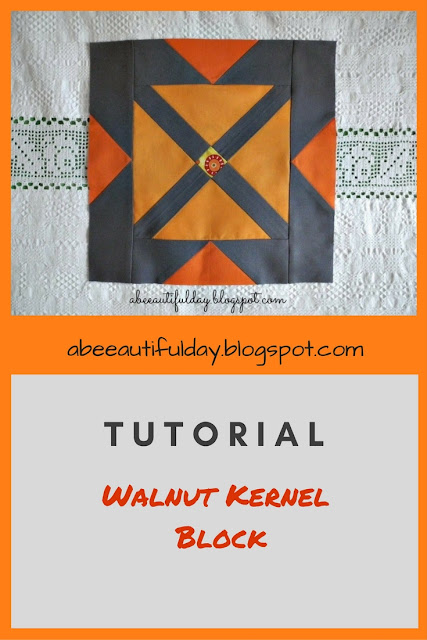
After I made a quick table runner from three test-blocks I set the problem aside because I had other deadlines on the horizon.
These days I brought it back. This second attempt to work on this patchwork block has been occasioned by the participation in a Round Robin which just started these days.
I made some research work to gather information about similar blocks. I found one version of it in Judy Hopkins book, named "Whirling Five Patch". But I didn't want this setting. I wanted the setting of the original needlepoint from Basarabia, which might be included in the traditional motif known as "Walnut Kernel".
But I was again pushed from the back by the time. I stopped searching and started to do it how I thought it was right. One thing was sure: the name of this block.
If somewhere in the World there is a tween brother of my block, I'll be happy to meet the author!
So today I share with you the tutorial I made for sewing it.
The May newsletter which is about to be sent has as main subject a few free quilt designs I made based on this block.
So, here it is
Cutting
Instructions
Seam allowances are 1.4" unless otherwise stated.1. Cut the B square in half diagonally. We have 2 Half Square Triangles (HST).
2. Center the longest side of one HST over the D strip, right sides together.
Sew them together.
Handle this side of the HST carefully to avoid stretching it out of shape. It is a bias cut.
Press toward the strip.
3. Center the longest side of the other HST over the other edge of the strip,
right sides together.
Sew them together. Press toward the strip.
4. Sew the 1 ½ " A square between the two E rectangles.
Press toward the rectangles. Set the pieced strip aside.
5. Cut the resulting block in half on the other diagonal.
We have two HSTs again.
6. Sew the strip containing the yellow square between the two HST.
Press toward the pieced strip.
7. Trim the excess. Take care to have the meeting points of the block's perpendicular
sides placed in the middle of the corresponding strips ends (see the red arrow).
If you worked accurately the central block should measure 7" x 7" (seam allowance included).
Set it aside.
8. Place one F piece vertically over the left half of one C piece, right sides together.
 |
| On C piece draw or fold and crease one diagonal line from up left to down right and sew together F+C pieces. Cut the excess to 1/4 " seam allowance. |
9. Take another F piece and place it on the right half of the pieced unit, right sides together.
Repeat Step 8 changing the direction of the diagonal.
10. Make one more F+C+F unit and two G+C+G units.
 |
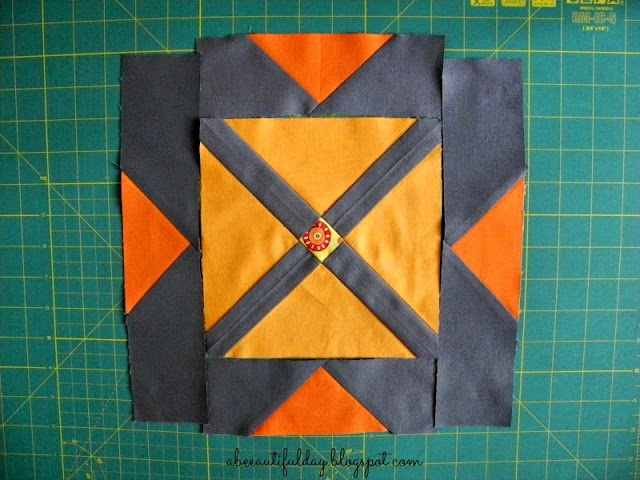
| The four pieced units in place, before sewing them to the central block. |
After trimming them you should have two short pieced units measuring 2 1/4" x 7 1/2" and two long pieced units measuring 2 1/4" x 11".
11. Take the central block and fold it in half. Finger press to leave creases
in the middle of each side.
Center the two F+C+F units on the block, right sides together and sew them to the top and bottom edges.
Press the seam allowances outward.
Trim the excess.
Do the same with the G+C+G units for the left and right edges.
Press the final block.
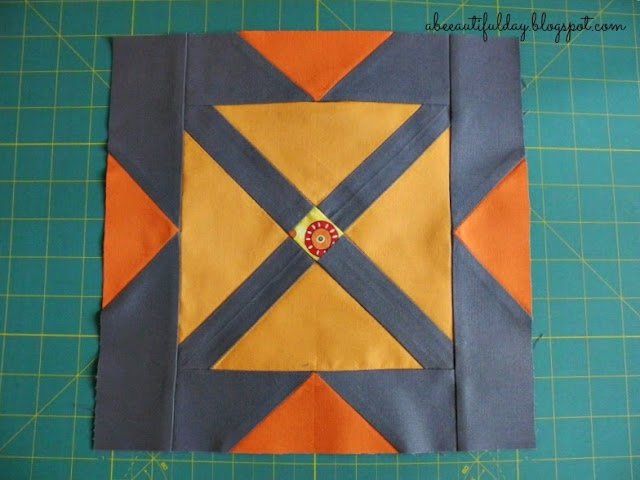
The finished block should measure 11" (seam allowance included).
 |
| The finished block with the pieced border added |
It's important to keep the accuracy of the cutting and sewing in order to not alter the design.
Tips
It's possible that at your first attempt to come to a smaller central block, trying to get the middle point of the diagonal in the trimming step. In this case, you will have to adjust the exterior pieced units length, after sewing them to the central block. In consequence, your final block will get smaller than 11".In this case, you should verify if the exterior triangles long sides measure 1 1/2" less than the interior triangles long sides.
If they have about the same length, take the ruler and do these:
- measure one interior triangle long side; from this number subtract 1 1/2" and you have the exterior triangle long side length.
- place the ruler on the block and keeping it parallel to the block exterior side, glide it inward until you reach the desired length of the exterior triangle side. Cut along the ruler. Do the same with the other three sides.
This way, even the block is smaller than it should be, the design is not altered.
I hope this tutorial is intelligible and useful.
Have a beautiful weekend!
I am linking to Linky Tuesday.


