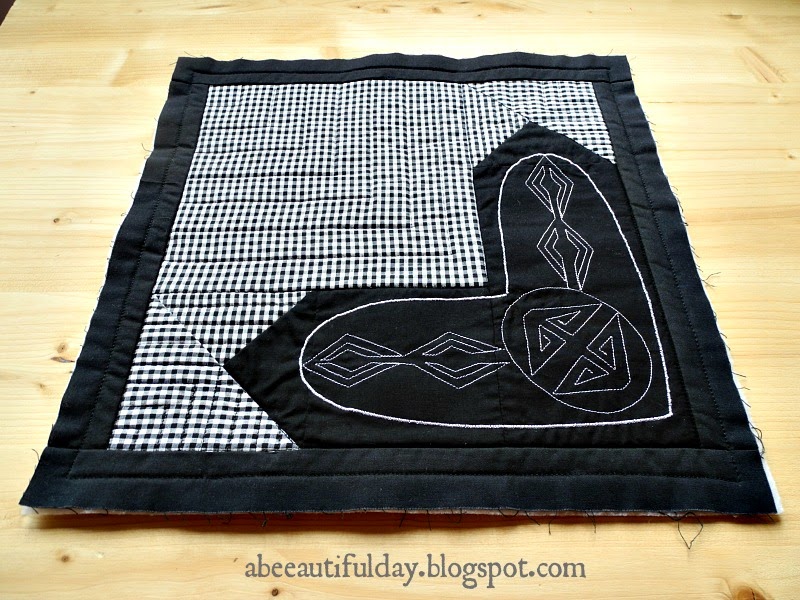
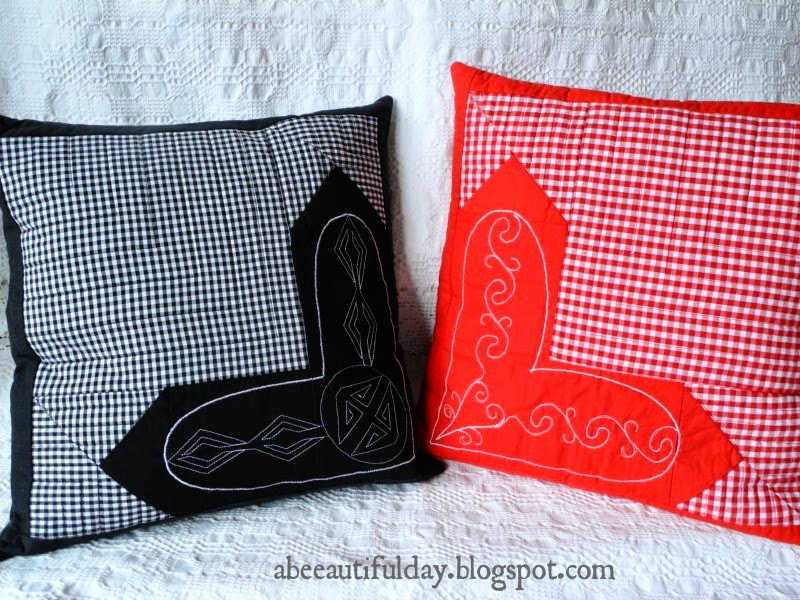
It's the end of January and I have spent about half of it pondering, drawing and sewing for this Valentine themed project. It came out one Heart Quilt Block and two Embroidery Designs: one for Her and one for Him.
Trying to suggest rather than explicitly show, I decorated "his" heart with straight lines and "her" heart with curved lines. My favorite source of inspiration - as always, Romanian needlepoint stitches.
An important mention: it is a quick project. It takes just a few hours to sew it, including the embroidered heart.
I equally thought about embroiderers and quilters: I made the two designs applicable both for embroideries and quilting designs. As you will see below, they are forgiving designs.They don't require perfection.
If you want to add a fresh look to your Valentine gifts, give it a try!
Please respect my work - Note that this pattern and designs are for individual use only. Not for resale. If you show them on your blog, site, Pinterest, Flickr..., don't forget to add the link back here, on my blog.
Finished size: 14" x 14"
All seam allowances are ¼".
Press the seam allowances toward the dark fabric unless otherwise stated.
Read through all instructions before you begin.
Materials requirements
For the pillow front:
-Fabric A (mine is gingham): ¼ yard
-Fabric B (mine is solid): 1/4 yard
-Batting: 15" x 15"
-Cutaway or Tear-away stabilizer: 9" x 9" (for embroidery)
For the pillow back:
-Fabric for 14 1/2" square, buttons or zipper, according to your preferences.
Cutting Instructions
Fabric A
Cut one piece of each:
Fabric B
Cut one piece of each:
Sewing Instructions
Use illustrations bellow as a layout guide:
8) Add the border
9) Print the embroidery design
For each of the two designs follow the same steps:
Right-click on the image. Select "Save as..." and save it on your computer. Print it in the original size. Measure the 1" square to verify if the scale is correct. The drawing fits on a single page. It doesn't matter if the print is a bit smaller or bigger as long the heart outline fits the background heart pieced block.
 |
| "His" Embroidery design |
 |
| "Hers" Embroidery design |
10) Transfer the design onto the pillow front using a water-soluble pen.
11) Add the embroidery - optional step!
To prepare to embroider spray a piece of stabilizer with temporary adhesive on the wrong side of the pillow front and smooth the fabric on top. You don't need a hoop.
For "His" design I used the applique foot that gave me a large field of visibility.
I chose two standard stitches of the sewing machine: satin stitch for the outline and straight stitch for the inside design.
For "Hers" design I used the applique foot for the outline and the free motion foot for the inside design.
Once the design is finished trim away the excess stabilizer on the back.
12) Quilting the pillow front
If you stitched the embroidery - Center the pillow front with its wrong side on the piece of batting. You don't need backing. Quilt the rest of the pillow front as desired.
If you did not embroider - stitch through both layers quilting first the traced heart pattern. Quilt the rest of the pillow front as desired.
Wash the pillow front to get rid of pen traces.
While it dries prepare the pillow back.
Join the front and the back together.
Done!
Enjoy my pattern and designs!
I would be very happy to see they are useful.
Short note for my newsletter subscribers
As I promised at the beginning of 2015, I will send you a monthly illustrated calendar to use it by printing or save it on your computer.
In the next newsletter (which you will receive in a few hours) I will send you the February free calendar. I hope it will bring a bit of joy in these grey winter days!
Have a beautiful day, my dears!
I am linking to Finish it up Friday!


