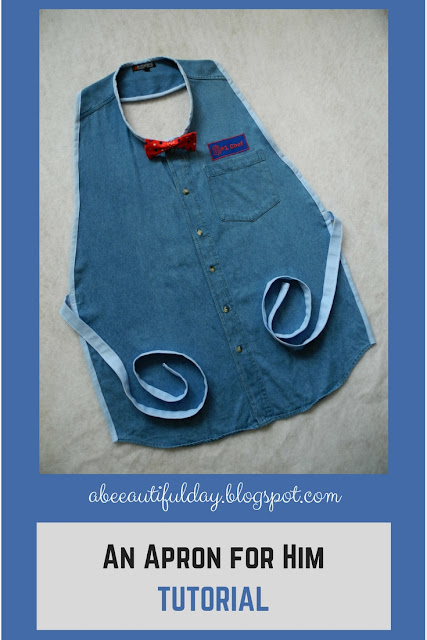
It's a quick and funny project.
I have asked Silvia if I may write a short tutorial about it and she kindly approved.
Here is my version:
Materials needed
- one shirt (if it is used, the front should be in good shape)
- binding
- scraps of fabrics
- thread
- sewing machine
- scissors, water soluble pen or tailor chalk, pins
- one safety pin
 |
| I folded the shirt in half. I cut out the front. |
 |
| On the back, the cutting followed a curved line finished up at about 4" down from the shirt's neckline. |
 |
| I drew a line along the neckline. |
 |
| I cut out the collar following the drawn line. |
 | ||
| I verified if the new neckline needs some corrections. |
 |
| I added the binding on the raw edge and stitched the two straps. |
 |
| I made a bow tie and I placed it on the shirt with the safety pin. I played a little and embroidered a label with his monogram and stitched it above the chest pocket. |
 |
| Done! |
It was very well received.
Thank you, Silvia, for this brilliant idea and for the permission to post the tutorial!
Have a beautiful day, my dears!
I'm linking to Finish it up Friday!


This is so cool! Great job. PS- my friend Libby is going to be making a quilt from your Country Home pattern soon. Her blog is here: http://noairplanehere.blogspot.com/2015/04/wip-wednesday-plan-of-attack.html
ReplyDeleteOh what a great idea - and I love the bow tie touch!
ReplyDeleteMuch, much better than my man apron! I'm glad you made a tutorial, thank you!
ReplyDelete