Showing posts with label bags. Show all posts

Monday, 11 November 2024

Easy-Peasy all-in-one Yoga Bag - new pattern

Hello everyone!


Long time no see, I know, but here I am!

I'm so happy to tell you a few things about my new bag pattern! The name speaks for itself: 

Easy-peasy all-in-one Yoga Bag. 


Bag in pink and white patterned fabric with a yoga mat held in the bottom.

It is a special bag pattern. 

What makes this pattern special? When you look at the bag, you don't see anything special in its appearance. It has a common shape. What makes it different is its interior. I'm particularly proud of two things I managed to work out in this pattern: on the one hand, the built-in lower space (not added as an outer sleeve, as many such bags have) for carrying a yoga mat, and on the other hand, the extremely simple way in which I made room for it.


A bag in pink and white patterned fabric opened, showing the interior compartments, with a yoga mat held in the bottom . The blog URL 'abeautifulday.blogspot.com' is written at the bottom in pink text.


A bag in pink and white patterned fabric with a yoga mat held in the bottom. The blog URL 'abeautifulday.blogspot.com' is written at the bottom in pink text.

The finished size of this bag is 16" height x 13" width, but the pattern includes a cutting guide that allows you to make it in four different sizes and three shapes. This guide helps you adapt the pattern to suit your needs, to create bags in different proportions to fit the use or style preference.

Tote bags made of various colored fabrics, having various sizes and shapes, suspended in a stand. The blog URL 'abeautifulday.blogspot.com' is written at the bottom in pink text.

The pattern also offers several illustrated suggestions on how to personalize your tote bag.

A bag in turquoise and white patterned fabric with a drawing tube held in the bottom. The blog URL 'abeautifulday.blogspot.com' is written at the bottom.

Tote bag in natural canvas with black handles, featuring a black and white patchwork square design on the front. The blog URL 'abeautifulday.blogspot.com' is written at the bottom in pink text.

When it comes to fabrics needed to make it, you have a choice: denim, lightweight cotton duck, lightweight home decor fabric, quilting cotton, or canvas.

Tote bag in natural canvas featuring a black and white applique word "Breezy" on the front, with a yoga mat held in the bottom. The blog URL 'abeautifulday.blogspot.com' is written at the bottom in black text.

The Easy-peasy Yoga Bag Pattern is the perfect project for creating a versatile, durable, and stylish bag. Its simple, clever construction makes it easy to assemble while still offering room for customization and creativity. Follow the instructions and let your imagination guide you as you craft your very own unique yoga bag!
Cover image of a sewing pattern for an Easy-Peasy All-in-One Yoga Bag by Mihaela Alexandrescu. The bag is shown in pink and white patterned fabric with a yoga mat held in the bottom. Size without straps: 16” high x 13” wide.
What do you say? Do you want to give it a try?
Just click on the button below to purchase the pattern.


Have a beautiful sewing day, my dears!

Saturday, 23 July 2022

TUTORIAL - How to install invisible magnetic snaps on a bag


Overview

    The pronged magnetic snaps (standard magnetic snaps) are a very easy and fast closure for a bag, but when your bag needs a clean-looking, flat profile, hidden from view magnetic closure, a practical variant is using invisible magnetic snaps, known also as sew-in magnetic snaps. They are very useful for many types of bags, for wallets or pocket flaps. 

abeeautifulday.blogspot.com-How to install invisible magnetic snaps to a bag Tutorial

    These invisible magnetic snaps are composed of two parts, like the standard magnetic snaps, but both parts are flat discs, encased in a soft, clear plastic pad that is easy to sew through with no special needle. Anyone can do it.abeeautifulday.blogspot.com-How to install invisible magnetic snaps to a bag Tutorial

   They come in different dimensions and in sets. One set includes two magnetic pieces, a positive and a negative. Depending on the manufacturer, some of them have the positive piece marked with a "+" in one corner of the plastic pad and the negative piece marked with a "–". 

Dimensions of my magnetic snaps: 
– magnet 3/4" diameter 
– plastic pad 1 ¼ " square. 


Positioning the snaps


abeeautifulday.blogspot.com-How to install invisible magnetic snaps to a bag Tutorial


    To see which is the front and which is the back of the two magnets, bring them close to each other. The right position is, of course, that in which the two magnets have the greatest strength of attraction. Mark the back of the snaps with a permanent marker - you will need this later.


    Place one bag panel wrong side up. Measure one side of the magnetic snap pad (usually it is a square). Mine is 1 ¼" and the following instructions are based on this.

abeeautifulday.blogspot.com-How to install invisible magnetic snaps to a bag Tutorial

Mark 1 ¼"  and 2 ½" down the top edge. See the horizontal orange lines. Mark the center of the bag panel. See the red vertical line.

 If your pad has other dimensions, draw the first line at a distance equal to the side of the pad, and draw the second line at a distance equal to the side of the pad x 2.


abeeautifulday.blogspot.com-How to install invisible magnetic snaps to a bag Tutorial

    Fold the top edge over. Press and pin or use clips to keep it in place. 


Installing the snaps


abeeautifulday.blogspot.com-How to install invisible magnetic snaps to a bag Tutorial

    Center one snap (doesn't matter which one) back side up, over the folded edge. Use clips to keep it in place.


abeeautifulday.blogspot.com-How to install invisible magnetic snaps to a bag Tutorial

     Top stitch as you wish: close to the magnetic snap or close to the pad edge. Use a zipper foot if you prefer. Use matching thread.
    I recommend placing a piece of fabric or vinyl, or cork etc. between the snap area and needle plate (the orange piece in the photos above), to weaken the strength of the magnet while sewing. Just be careful to keep it away from stitching.


abeeautifulday.blogspot.com-How to install invisible magnetic snaps to a bag Tutorial


    You might secure the seam either by back stitching at the beginning and end of the seam or by burying the ends of the threads in the panel folds. The latter gives a cleaner look.


abeeautifulday.blogspot.com-How to install invisible magnetic snaps to a bag Tutorial

    Place the bag panel wrong side up. Fold the top edge over one more time. Press and use clips to keep it in place. Now the snap is tucked between folds, front side up.

abeeautifulday.blogspot.com-How to install invisible magnetic snaps to a bag Tutorial


    If you use fabric straps, now is the time to attach them. For this bag, I used leather straps and I attached them after the bag was assembled, as the last step. 

    Sew a seam on the bottom edge of the folded side and one seam at about 1/8" down from the top edge of the panel.

    Repeat for the other bag panel.

abeeautifulday.blogspot.com-How to install invisible magnetic snaps to a bag Tutorial


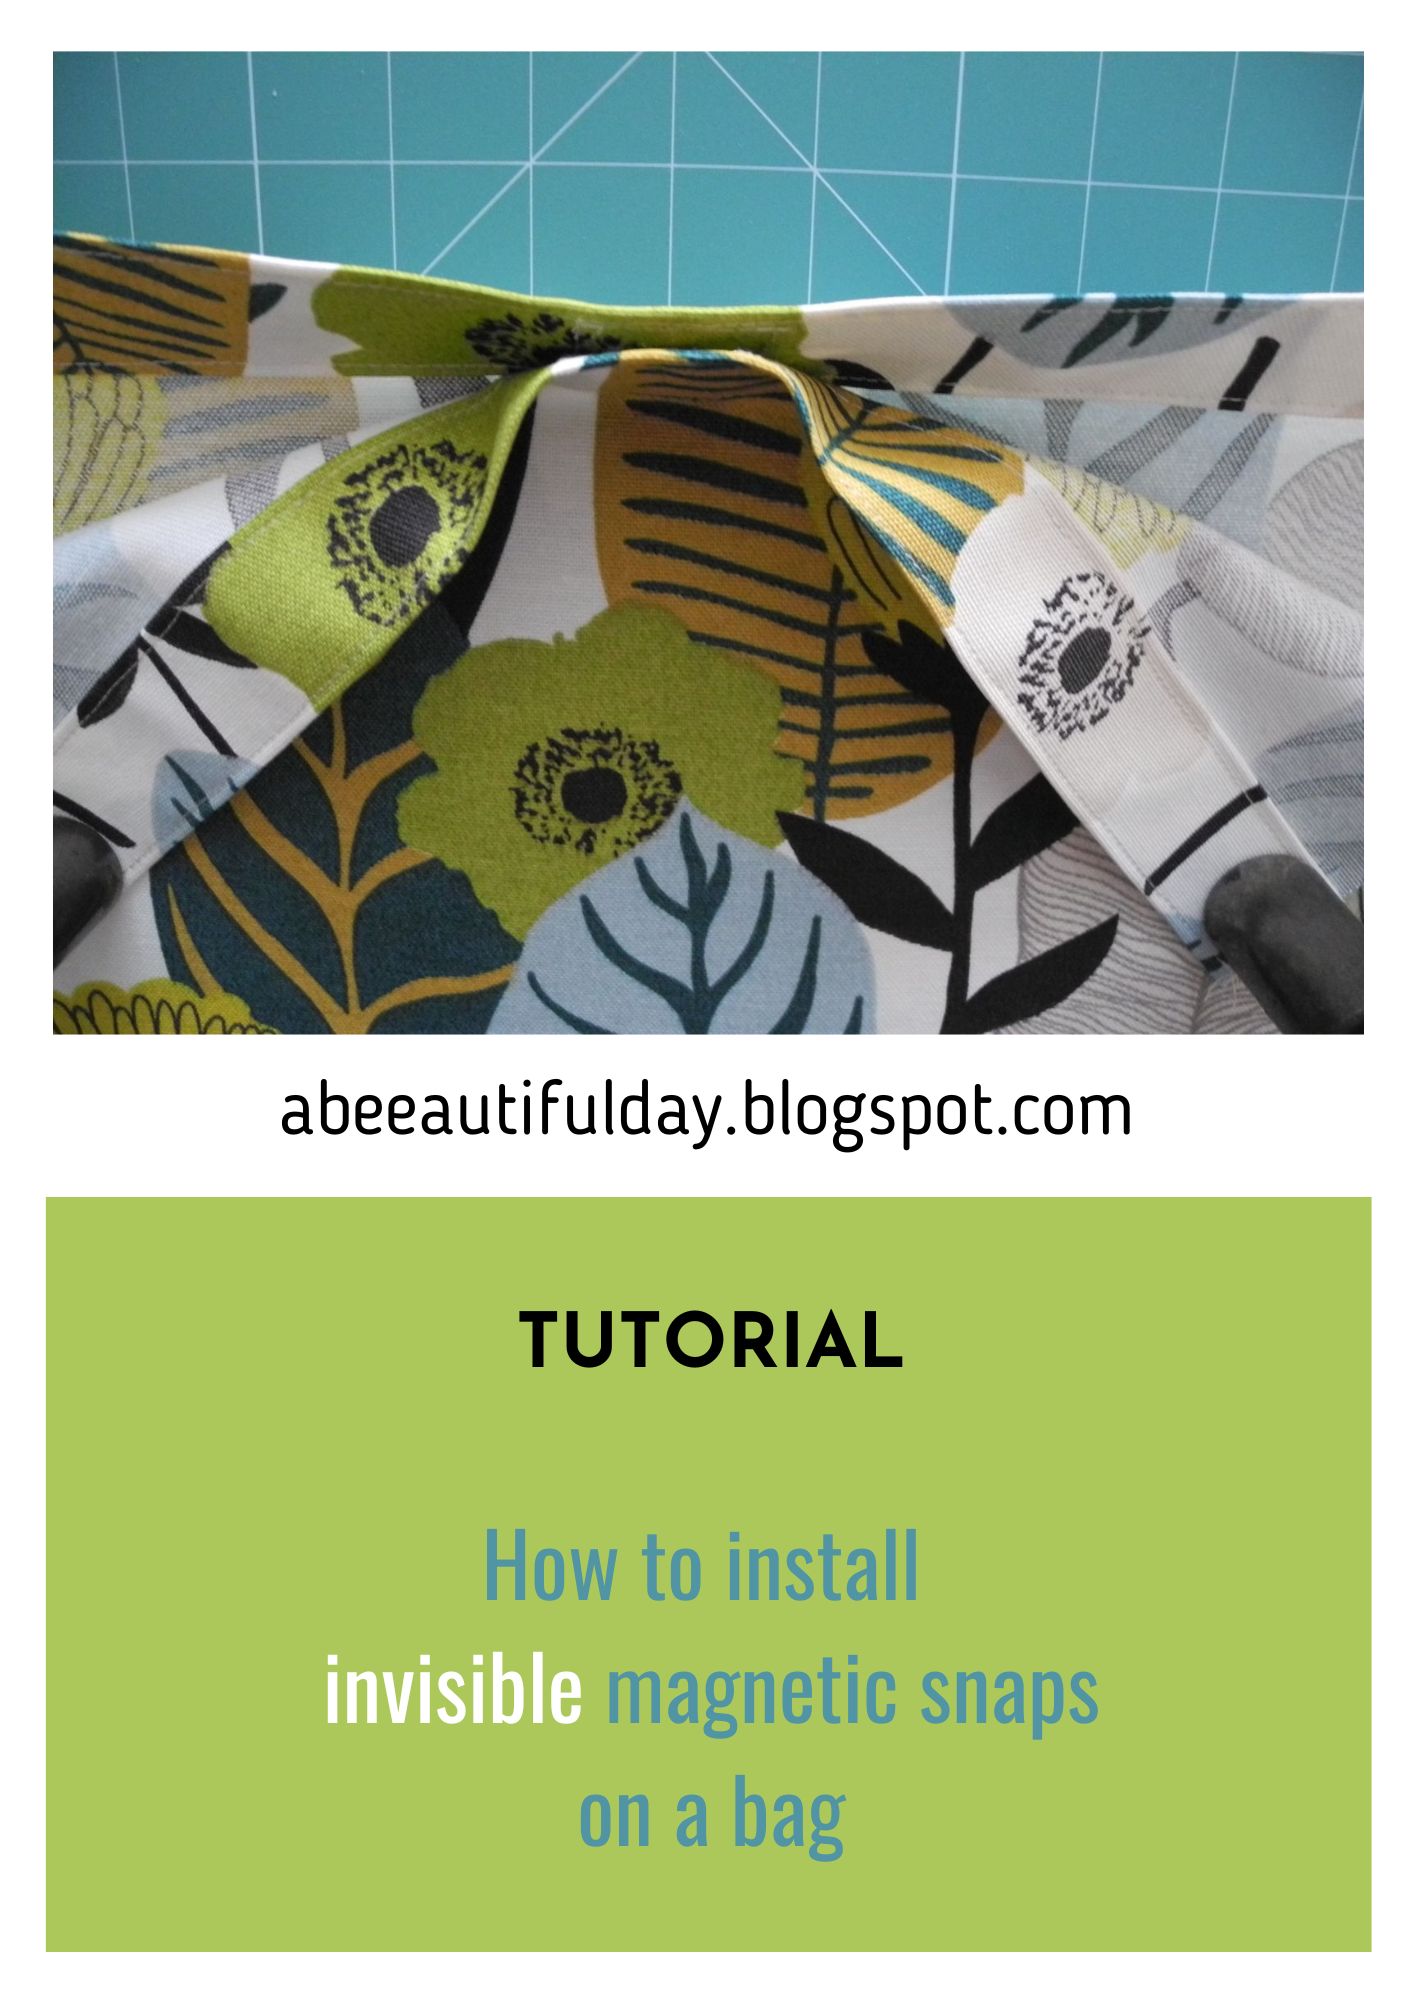
  As you can see, the invisible magnetic snaps closure looks so good and provides the same security as the standard magnetic snaps. 


abeeautifulday.blogspot.com-How to install invisible magnetic snaps to a bag Tutorial


    Almost nothing to see on the inside. Only a fine stitched square that is barely visible.


abeeautifulday.blogspot.com-How to install invisible magnetic snaps to a bag Tutorial


    Nothing on the outside.


abeeautifulday.blogspot.com-How to install invisible magnetic snaps to a bag Tutorial

    If you have already a pair of invisible snaps in some drawer and want to use them, you have the right project here 

Mihaela Alexandrescu - Unlined shopping bag with removable interior pocket Pattern

    The bag in this tutorial was made following the instructions of this pattern, which allows so many variations.

When ordering Unlined shopping bag with removable interior pocket Pattern, leave me a message if you want to save this tutorial and I will send it to you as a .pdf file.


abeeautifulday.blogspot.com-How to install invisible magnetic snaps to a bag Tutorial
 To remember, pin this for later.
   

    Other ideas and tutorials you may find HERE, on my blog. 
    Have a look to my pattern shop www.etsy.com/shop/1BeautifulDay for more ideas too.


    Have a beautiful sewing day, my dears!


Tuesday, 19 October 2021

New sewing pattern - Tama Handbag

Here where I live it's a beautiful autumn. With sunny days and golden colors in gardens, but also rainy days, when you better read, knit or sew something useful and beautiful. It was precisely these days of bad weather that were the ones in which I managed to sew a few bags. 

Thus, today I'm happy to share my brand new bag pattern, Tama Handbag!


abeeautifulday.blogspot.com-Tama Handbag pattern Mac design


What do you think? Pretty, isn't it? I'm sure you noticed the zippered pockets. Not one, not two, but three! A lot of things to keep at hand.

abeeautifulday.blogspot.com-Tama Handbag pattern Mac design


Of course, there are also two slip pockets

abeeautifulday.blogspot.com-Tama Handbag pattern Mac design


Finished dimensions of this bag are: 13¼"(33.5 cm) wide; 13¼" (33.5 cm) tall (without handles); approx. 2¾" (7 cm) deep on top; 4" (10 cm) deep on bottom.

abeeautifulday.blogspot.com-Tama Handbag pattern Mac design


For this bag I recommend you use quilt weight fabrics, denim, light weight cotton duck, light weight home decorating fabric, or canvas. The fabric does not have to be too thick, as it will be difficult to sew it if you have a home sewing machine.

Here is a list of materials needed (fabric requirements are based on 44''/110 cm wide fabric):
For exterior bag:
- from fabric A – half yard/meter for the front and back panels; from fabric B – half yd/m for gusset.
- for reinforcing the fabric:
- from 20"/50 cm wide light weight interfacing – about 3 yds/2.5 m.
- a piece of about 30"/76 cm x 45"/114 cm batting.
- optional – 30"/76 cm of fabric for backing
For lining – about 1½ yd/1.5 m.
Zippers - for exterior pockets - 3 zippers - at least 9" (23 cm) long (teeth dimension);
Magnetic snap - one set of 18 mm (¾");
Sewing thread to match the fabrics;
Zipper foot, free-motion quilting foot,100/16 sewing machine needle.

abeeautifulday.blogspot.com-Tama Handbag pattern Mac design


 Would you like to make a  Tama Handbag of your own? Then click here for the pattern.

You will sew a handy and beautiful quilted handbag to carry many items in.
Ideal for everyday use, it has plenty of storage, giving you quickly access to your most needed things placed in three exterior pockets and two interior pockets. 
Mix and match the fabrics to create the perfect handbag for your style and the season.

abeeautifulday.blogspot.com-Tama Handbag pattern Mac design


My wonderful friend and talented quilter and sewist Silvia Ciubotaru sewed up this beautiful Tama Handbag:

abeeautifulday.blogspot.com-Tama Handbag pattern Mac design

You are welcome in my little Etsy Shop. Maybe your next project is there.


Have a beautiful day, my dears!
Thank you for your support!


Tuesday, 17 August 2021

La vie en rose…


Is it any wonder that we associate the Summer months with feeling happy and carefree? 

Maintain this mood by sewing (or asking someone to sew for you) a light and cheerful bag in which to hold everything you need to feel good when you are not at home.

A bag without lining but with 2 zippered pockets? Yes, of course! Just click here if you want to receive the pdf pattern and to find out how is it possible to make in no time, all kind of beautiful and useful bags using one single pattern. 

🌹🥤🥪💊🔑📚✏

.

abeeautifulday.blogspot.com - bag pattern


abeeautifulday.blogspot.com - bag pattern

abeeautifulday.blogspot.com - bag pattern


Have a beautiful sewing day, my dears!

Monday, 8 June 2020

Unlined Shopping bag with removable pocket - pattern for sewing easy and practical bags

It is a common truth that we live in interesting and challenging times.
My generation will have full bags of memories to share.

We are about to reach  the middle of this turbulent full of fear and unknown things 2020, without realizing it. The Pandemic brutally stopped the whirlwind of life in which we all were carried. The two months of isolation meant to prevent the spread of the SARS virus - Covid 19, reminded us, among other profound things, that we are the sons and daughters of planet Earth, not its masters. The geographer in me keeps telling me this. 

At my small individual level, creating bag patterns is a concrete way to help preserving our natural world. In just a few hours someone can sew one bag which will reuse hundreds of times, instead of using hundreds of single use plastic bags which has proven to be so harmful for our environment.

So, right from the isolation period came out 
my Shopping bag with removable interior pocket pattern

abeeautifulday.blogspot.com Unlined Shopping Bag with Removable Interior Pocket pattern
One pattern - multiple variants of Shopping bags

I designed this bag in such a way that:

- to be roomy - 16 ½" (42 cm) wide; 13 ¾" (35 cm) tall (without straps); 4 ¼" (11 cm) deep
- to be durable - enclosed seam allowances raw edges
- to be worn both on the shoulder and in the hand
- to be easy and quick to do - no lining, but with all its benefits - seam allowance invisible raw edges and interior pocket
- to be practical:
- the exterior pocket closed with a zipper
- the inner pocket can be taken out and carried in the hand or moved with all its contents in another bag.
- to be beautiful (original curved shape of the exterior pocket)
- to catch the eye (the applique design).

The Unlined Shopping bag with removable interior pocket is a lovable bag, for everyday use.
It has a fresh look and a practical structure. 

Its two big zippered pockets (one exterior pocket and one removable interior pocket) make it perfect for shopping, sport and outings.

This bag is very useful when you go to the market or to the grocery store, but you might need such a bag when going to the beach or to the gym.It is that kind of "big on inside - small on outside" all-in-one bag, as you don't need another bag/purse/backpack for your belongings.

The exterior zippered pocket will keep some of your things safe, while the removable interior pocket plays the role of a real pouch - as it gives you the possibility to keep at hand those things you need all the time. 

abeeautifulday.blogspot.com Unlined Shopping Bag with Removable Interior Pocket pattern
  

Special features of this Unlined Shopping bag with Removable Interior Pocket pattern:
- one exterior zippered pocket
- one removable interior zippered pocket
- templates and detailed (beginner level) illustrated directions to appliqué the face design
- hidden raw edges
- tips and illustrated suggestions for customization 

abeeautifulday.blogspot.com Unlined Shopping Bag with Removable Interior Pocket pattern


The pattern guides you step by step to make one of the most useful shopping bag that someone might need. 

abeeautifulday.blogspot.com Unlined Shopping Bag with Removable Interior Pocket pattern


You will find a lot of easy to follow instructions and 87 color photos and diagrams, plus the printable templates in order to get the exterior pocket original shape and for the option to applique a face to your bag.

abeeautifulday.blogspot.com Unlined Shopping Bag with Removable Interior Pocket pattern


You will learn how to make a bag that combines the advantages of a unlined bag (light weight, short time to complete) with the ones of a lined bag (nice layout of the bag interior given by hidden raw edges of the seam allowances) and the ones of a pouch (the removable interior pocket).

The pattern includes:

-suggestions for the best materials for such a bag and how to prepare them.

- instructions for preparing and fusing the applique pieces
- instructions for securing the applique edges
- detailed instructions to sew the zippered pocket using two different sewing technics

- tips about how to give to the zippered opening of the exterior pocket an original look.

- illustrated detailed instructions for making the interior pocket removable

- a lot of tips helping you to sew a bag with professional looking seam allowances, hems and straps

All measurements are in both inches and centimetres. 

https://www.etsy.com/shop/1BeautifulDay

Please, give it a try! You will find it in my Shop.

Thank you for your suport!
Stay healthy and safe!

Have a beautiful sewing day!


Saturday, 14 December 2019

When in doubt, make a bag! - Two tips for those who sew bags

Like many of you, I buy fabric sometimes just because I like it. Maybe for the color combination or its design, or for its texture ... or for all of these together.
On such an occasion I bought a piece of fabric for home decor, only because I really liked the classic floral design lying on the dark background. The opportunity to put him to work came these days when I decided to use it for the 2nd variant of my unfinished bag pattern.

Two tips for those who sew bags - abeeautifulday.blogspot.com


First of all, it helped me to see what this bag model made of this type of fabric looks like, but also to test what happens when you sew zippers on such a fabric and how thick its pieces are sewn together.


Two tips for those who sew bags - abeeautifulday.blogspot.com

What I can share with you now from this experience is this:

When sewing home decor fabric, if you need a second fabric (for the gusset, my example) one good idea is that both fabrics have the same composition and thickness.
1. Same composition helps you to iron the bag pieces using the same temperature for all and, consequently, finish the work faster without melting accidents, if you use polyester blends.
2. Close or identical thickness helps you control the bag shape and it makes a lot easier to sew the bag pieces on the sewing machine.

Two tips for those who sew bags - abeeautifulday.blogspot.com


Now, back to writing the conclusions of this test for my no-name-yet bag pattern.

Two tips for those who sew bags - abeeautifulday.blogspot.com


Have a beautiful weekend, my dears!

Tuesday, 8 October 2019

Tips and tricks for sewing beautiful bags by spending clever your money -1

One of my dearest activities is sewing bags. All kind of bags: large, small, handbags, totes, shopping bags (oooh, how I love them!) and of course, pouches.
Even though it is impossible to find here where I live the perfect combination of fabric-lining-interfacing-batting-hardware for bag making, I try to gather the best ones from all kind o places: our local shops or online shops and overseas online shops. The last source I just mentioned would be my first choice if the transport prices would not have increased so much, that doubles the cost of the order.
But when you really want something, you find a way to do it. In my case this "something" is making bags. In order to get good quality materials at a reasonable price I spend a great amount of time finding the places that fit to my budget. I know from my own experience that you won't get a high quality product using low quality materials. No matter how much you want or do, you won't get a really beautiful and durable bag in time. If the fabric colors will bleed, the interfacing will detach or the thread will break after the bag will be worn only a few times, the feeling of working in vain will be overwhelming.
That's why a constant of my work is that all the time I look for methods to keep the quality as high as possible thinking at the same time on what I can spend less.
One of my tricks to do this is buying cotton curtains from thrift shops. These shops are treasure boxes where, with a bit of patience, I find beautiful curtains that may be use for the exterior bags, lining or shopping bags. One piece of curtain means a few yards of home decor fabric at a good price with the color wash out test already done.
I use them after I wash them (for hygienic purpose) especially for my mock-up while I'm working on a bag pattern, as I need a lot of tests and I want to preserve the new good fabrics for the final bag.
Sometimes I use them too when I want to make a bag "now", I don't have the matching new fabrics in my stash but I have a piece of a thrift shop curtain just good for it.  

Look at this bag.

abeeautifulday.blogspot.com - Tips and tricks for sewing beautiful bags by spending clever your money

It is the bag whose pattern I'm working now.

abeeautifulday.blogspot.com - Tips and tricks for sewing beautiful bags by spending clever your money

It is its first mock-up for which I used a piece of fabric from a cotton curtain bought from a thrift shop a long time ago, only because I loved the print and it was in a very good condition.

abeeautifulday.blogspot.com - Tips and tricks for sewing beautiful bags by spending clever your money

For straps I used leather - a premiere for me. On this occasion I learned to set rivets. I really liked this because this way I finished the bag much faster than if I had to make them from fabric and sew them on the bag. Not to mention how it looks a bag with leather straps!
No, my budget wasn't hurt by them. I will tell you why in the next episode of "Tips and tricks for sewing beautiful bags by spending clever your money".

Have a beautiful day, my dears!